I’ve had a few questions recently about how to apply my hand-drawn shader pack on Unity terrain. So here’s a guide (written using Unity 5, but the instructions should remain almost identical in Unity 4 save for a few menu options being in different places).
To start, create a terrain just as you would do normally:
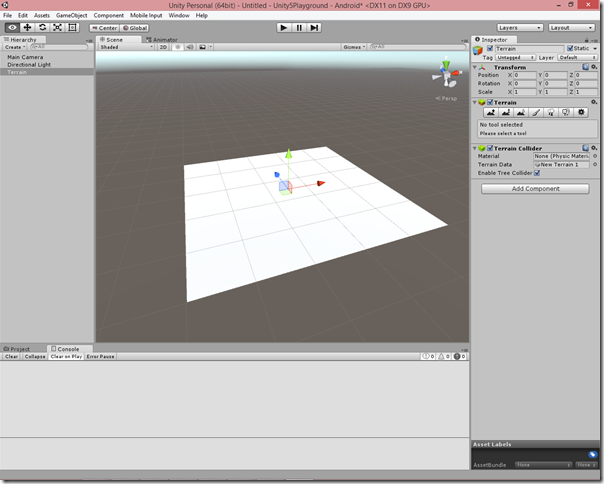
1.) Create a new terrain: GameObject -> 3D Object –> Terrain
2.) Use the terrain tools to sculpt it.
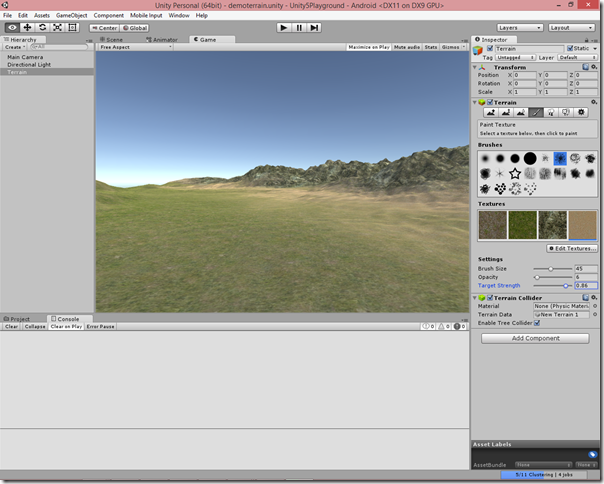
3.) Now paint on textures just as you would do normally. I’m using the terrain textures included with Unity’s standard assets package: Assets -> Import Package –> Environment
Switch to game view, and it looks something like this:
Now we’ve got our basic terrain, it’s time to apply a hand-drawn ink look.
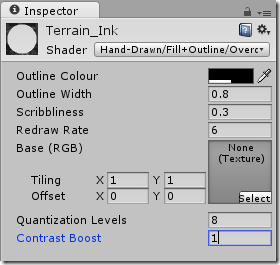
4.) Create a new material and assign the Hand-Drawn/Fill+Outline/Overdrawn Outline + Smoothed Greyscale Fill shader from the Hand-Drawn shader pack (you can use the same settings as shown here if you want, but you might prefer to tweak them later anyway)
5.) Select your terrain object in the scene hierarchy and, on the settings tab of the inspector pane (the furthest right-most tab, with the cog icon), change Material to "Custom", then select the Custom Material you just created in step 4.
At this point, your screenshot probably looks like this – getting there but not quite right yet 😉
To give the effect that the ink terrain has been drawn onto paper, we need to put a background instead of that skybox. There are a couple of ways of doing this – in the following steps I’ll put an image on a canvas. (if you’re using Unity < 4.6 when UI was introduced, you could simply create a quad in the background instead).
6.) Add a new UI image component by going GameObject -> UI -> Image. Set the source image to be one of the background textures included with the shader pack (e.g. Japanese Paper, Ruled Paper etc.). Then click the "native size" button to resize it to normal size.
7.) Select the Canvas element in the hierarchy and change the Render Mode to “Screen Space – Camera”. Then set the render camera to "Main Camera". Finally set the Plane Distance to 999 (just inside the default far clipping plane of the camera which is 1000). This will place the background texture behind everything else in the view.
8.) On the Canvas Scaler component, set the Scale Mode to "Scale with Screen Size", set the reference resolution to 640×480 (or whatever the size of the background texture you used is), and set the Screen Match Mode to "Shrink". This will make the background texture always fill the camera screen. Your settings on the Canvas should now be as follows:
And here’s what you should now see in the game view:
If you want the ink lines to have an animated effect, you can increase the scribbliness and redraw rate parameters of the shader, which gives results as follows:
Or:


Awesome tutorial! Thanks a lot for sharing it.